Engine beam bushing replacement with TEDGUM TED31041 puller (Manual #34)

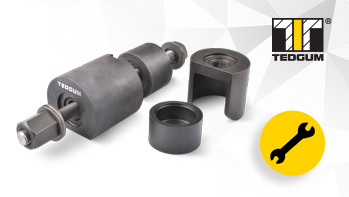
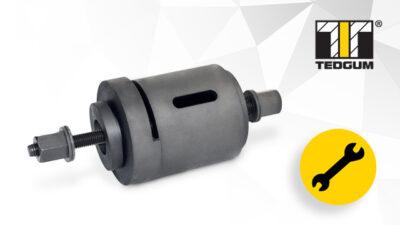
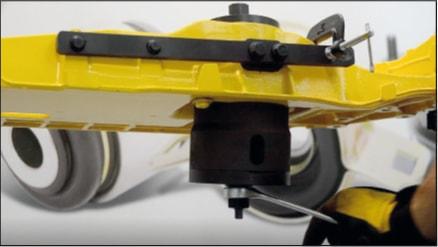
The puller enables correct dismounting and mounting of the bushing directly on the car, without having to dismantle the engine beam. Thanks to the reinforced thread, the puller is characterized by high durability. To facilitate operation and ensure proper operation, lubricate the bolt and bearings before each use. Engine beam replacement process is much easier when using this tool.

Before starting bushings replacement procedure, disassemble the lower engine cover, rear engine mount and unscrew the anti-roll bar mounting.

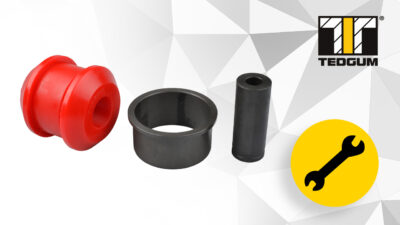
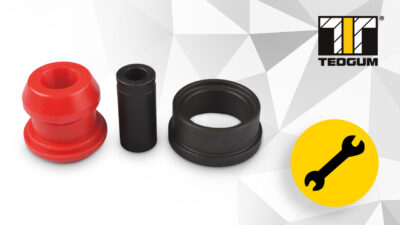
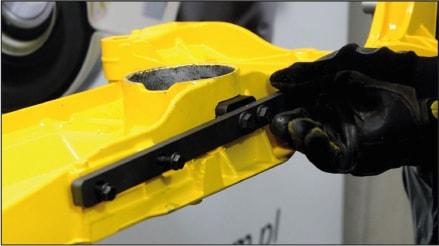
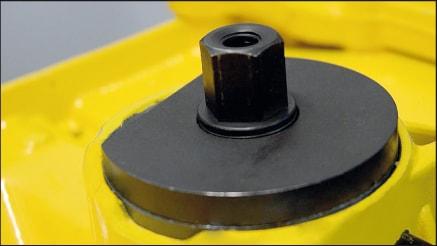
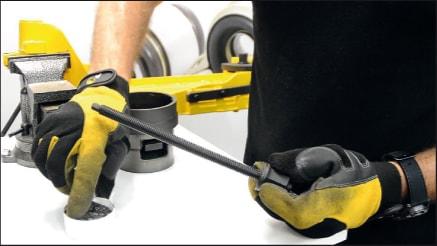
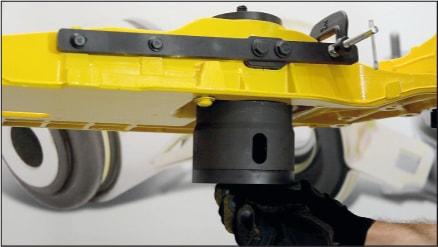
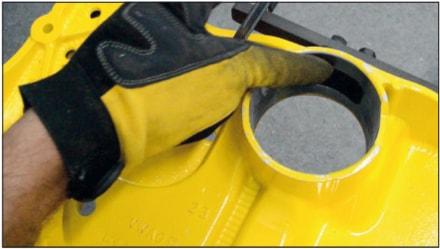
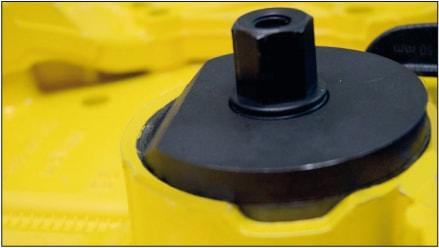
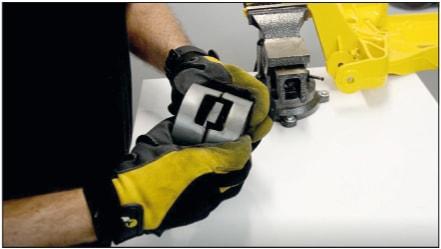
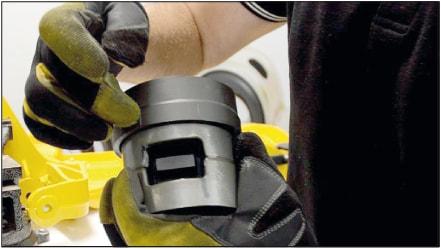
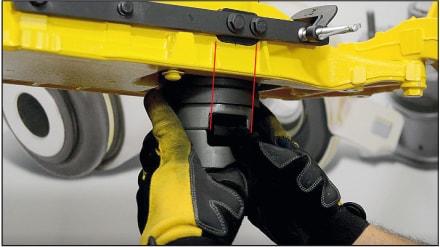
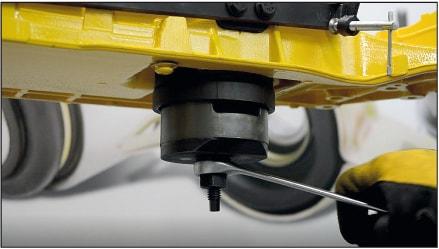
Below is the replacement process for the 00728427 VW bushing:

1

Obsługa ściągacza TED31041 krok 1
Put the plug on the engine beam.

2

Obsługa ściagacza TED31041 krok 2
Put a smaller fitting to press out worn bushing. The indentation should be in the position facing the rear of the vehicle.

3

Obsługa ściągacza TED31041 krok 3
Mount the lead bolt. To prevent friction during operation, lubricate the bolt thread with the supplied lubricant.

4

Obsługa ściągacza TED31041 krok 4
Mount a larger drive sleeve and a larger fitting together with a bolt from the bottom of the engine beam.

5

Obsługa ściągacza TED31041 krok 5
Press out the worn bushings. After removing it, clean the socket.

6

Obsługa ściągacza TED31041 krok 6
Align the position of the plug in the hole and secure it additionally with clamp – it is very important not to damage the newly mounted bushing.

7

Obsługa ściągacza TED31041 krok 7
Put a larger fitting on the upper part of the beam. The notch should be towards the rear of the vehicle.

8

Obsługa ściągacza TED31041 krok 8
Place a fitting between the new bushings, which holds both elements in axis.

9

Obsługa ściągacza TED31041 krok 9
Lubricate with a neutral lubricant new bushings and an engine beam socket. Place the new bushings in the smaller drive sleeve.

10

Obsługa ściągacza TED31041 krok 10
The hole in the bushes must be in line with the mark on the drive sleeve.

11

Obsługa ściągacza TED31041 krok 11
The drive sleeve should be also placed in the axis with the hole in the engine beam.

12

Obsługa ściągacza TED31041 krok 12
Start pressing in new bushings. After pressing the bushings, remove the puller.

13

Obsługa ściągacza TED31041 krok 13
Remove the fitting that hold both bushings in axis.

Video instruction with the bushing replacement process can be watched in our YouTube channel.

PULLER APPLICATIONS:

AUDI A3, Q3, TT
SEAT Alhambra, Altea, Leon, Toledo,
SKODA Octavia, Superb, YETI
VW Caddy, Eos, Golf, Jetta, Passat, Passat CC, Scirocco, Sharan, Tiguan, Touran

Manual shown above is just a presentation showing how the repair procedure can be made. TEDGUM® company does not bear responsibility for any errors in the manual and incorrect interpretation of the manual. Repair should be preceded by skilled personnel with the use of appropriate tools and with keeping all the safety means. All rights reserved.

Share on facebook
Share on twitter
Share on linkedin
Share on email

More in this category

Do you want to be informed? Subscribe to our newsletter !

We would like the use of our website to be comfortable for all users. This is possible thanks to the storage of cookies in the user’s browser and the processing of anonymous data for statistical purposes by TEDGUM Tadeusz Wojciechowski, based in Ruda Śląska 41-708, ul. Zabrzańska 22 and its Trusted Partners. Our Privacy Policy contains all information regarding the method and scope of data processing. The user may at any time ask for sharing and changing the data stored by the website administrator.