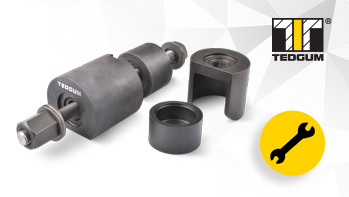
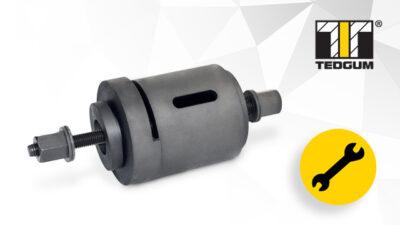
We below present the correct replacement procedure of rubber-plastic bushing installation.
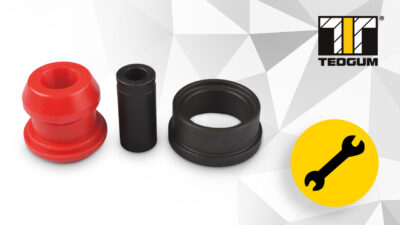
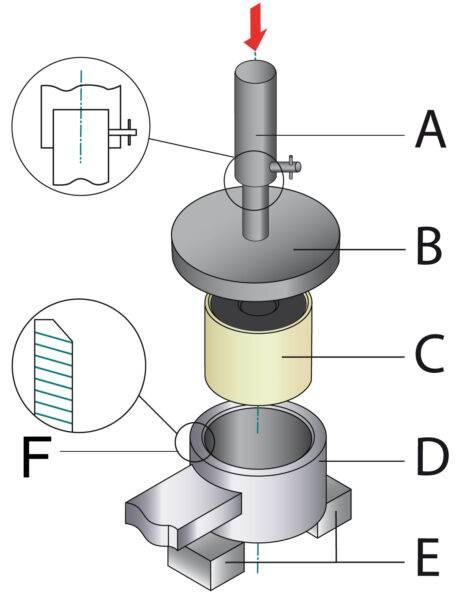
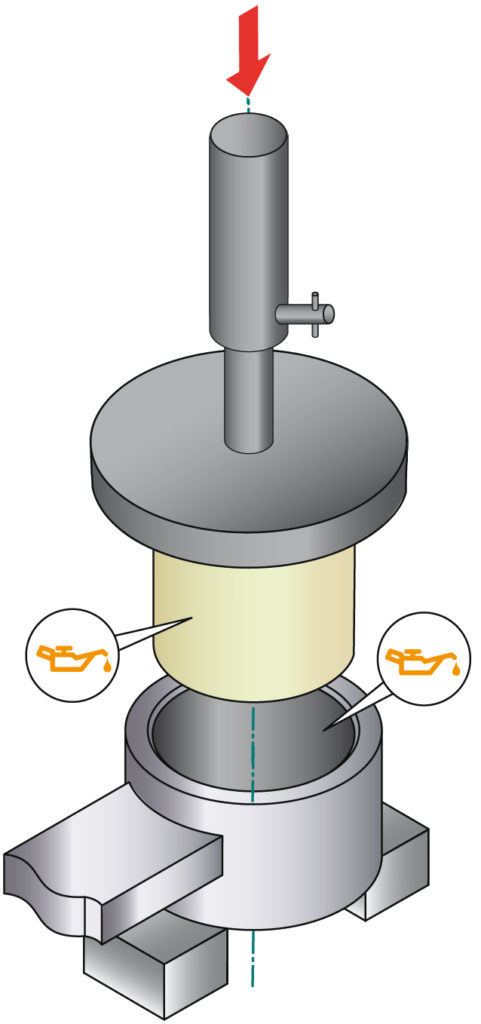
A – Directly in the socket
1
![](https://www.tedgum.pl/wp-content/uploads/2020/08/Montaz-Tulei-Gumowo-Plastikowej-1a-466x600.jpg)
2
![obraz Montaż Tulei Gumowo-Plastikowej 2a](https://www.tedgum.pl/wp-content/uploads/2019/01/Montaż-Tulei-Gumowo-Plastikowej-2a-481x1024.jpg)
3
![obraz Montaż Tulei Gumowo-Plastikowej 3a](https://www.tedgum.pl/wp-content/uploads/2019/01/Montaż-Tulei-Gumowo-Plastikowej-3a.jpg)
![ikona smar](https://www.tedgum.pl/wp-content/uploads/2019/01/ikona-smar.jpg)
Lubricate here
A – press piston
B – metal plate
C – rubber-plastic bushing
D – socket
E – support pads
F – make chamfer on the socked
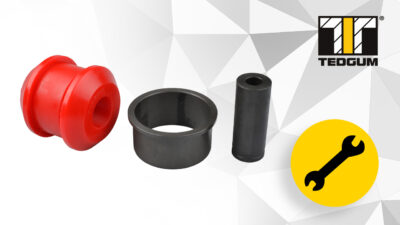
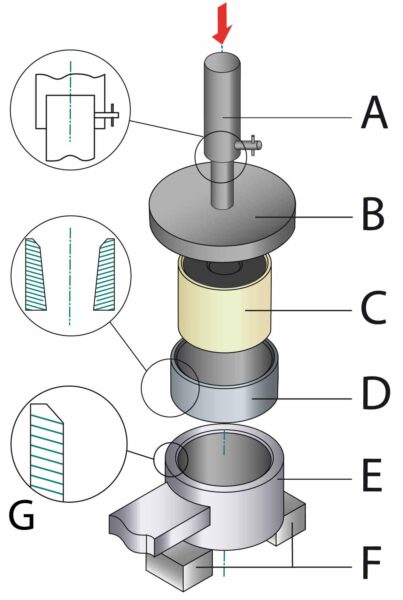
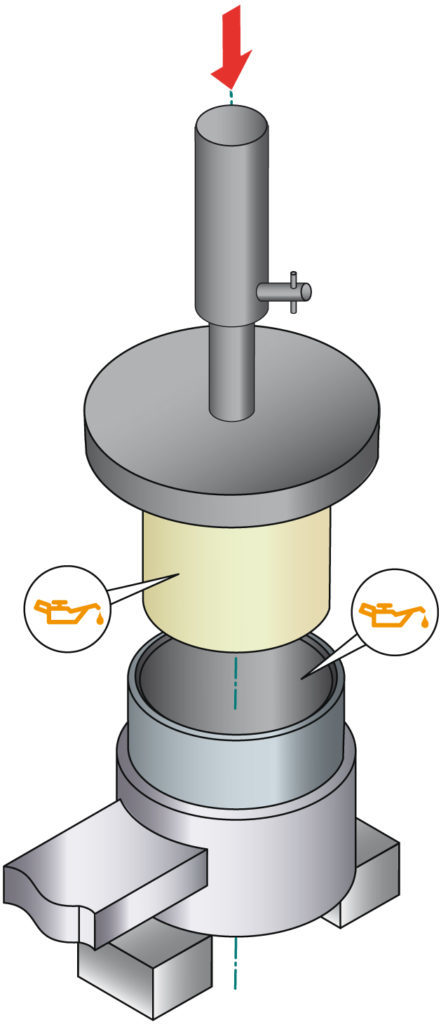
B – Using tapered sleeve
1
![](https://www.tedgum.pl/wp-content/uploads/2016/04/Montaz-Tulei-Gumowo-Plastikowej-1b-403x600.jpg)
2
![obraz Montaż Tulei Gumowo-Plastikowej 2b](https://www.tedgum.pl/wp-content/uploads/2019/01/Montaż-Tulei-Gumowo-Plastikowej-2b-448x1024.jpg)
3
![obraz Montaż Tulei Gumowo-Plastikowej 3b](https://www.tedgum.pl/wp-content/uploads/2019/01/Montaż-Tulei-Gumowo-Plastikowej-3b.jpg)
![ikona smar](https://www.tedgum.pl/wp-content/uploads/2019/01/ikona-smar.jpg)
Lubricate here
A – press piston
B – metal plate
C – rubber-plastic bushing
D – tapered sleeve
E – socket
F – support pads
G – make chamfer on the socked