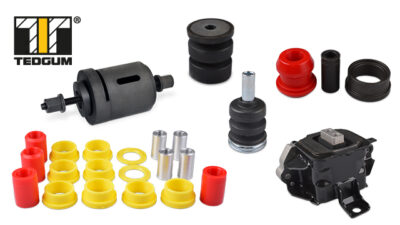
Below is the procedure for replacing a two-piece glued bushing with an appropriate two-piece non-glued bushing:
How to properly replace a 2-piece bushing?
Before replacement
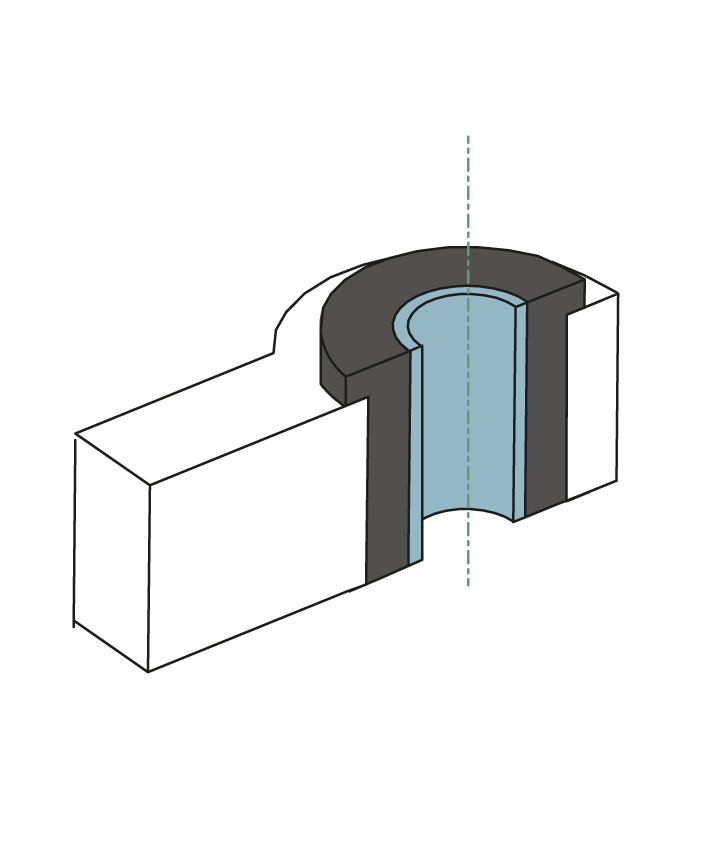
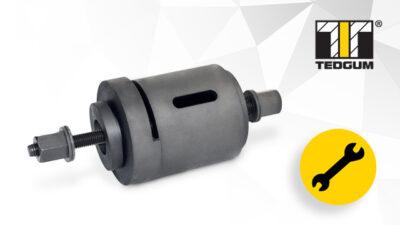
Removing the bushing
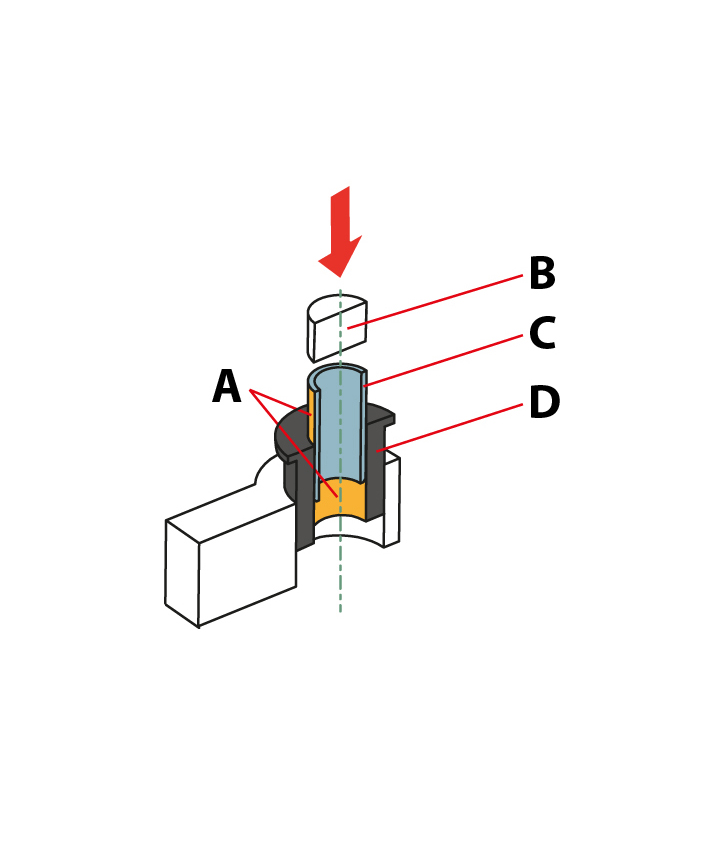
1
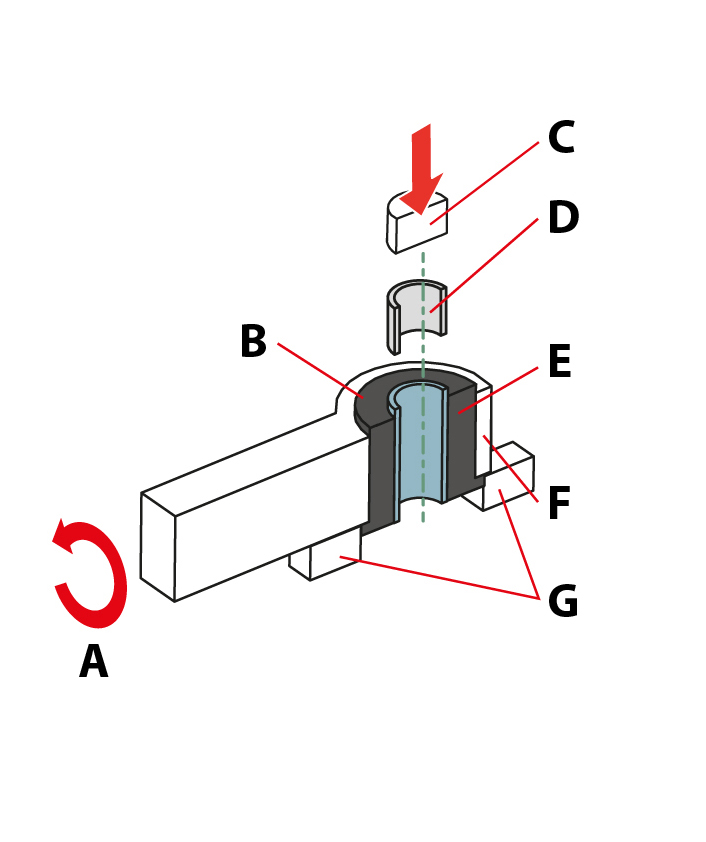
B – While removing bushing, press on the upper surface of the inner bushing
C – Press
D – Auxiliary bushing for pressing out
E – Inner bushing
F – Control arm
G – Place blocks under control arm
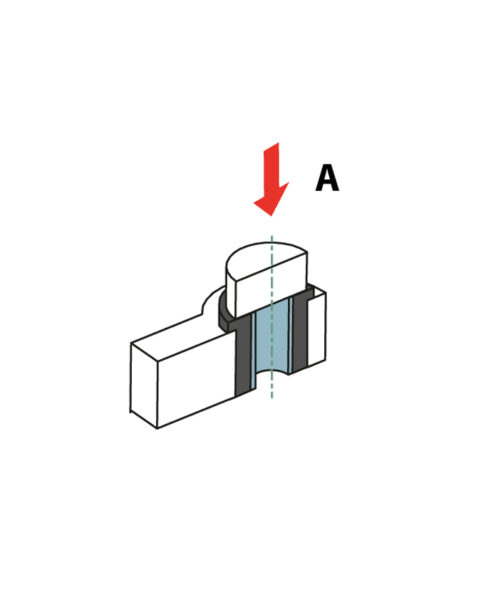
2
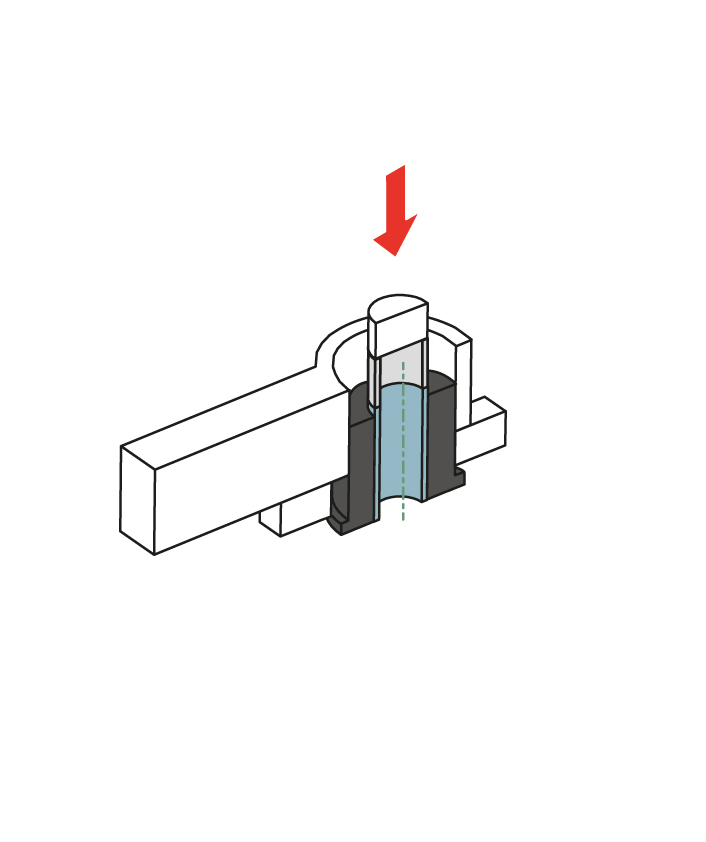
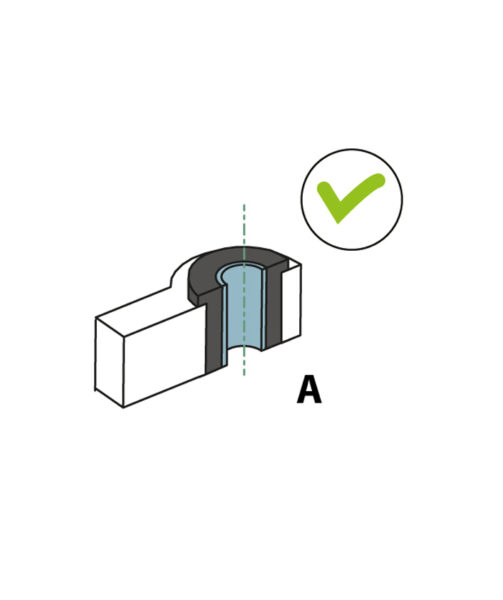
Correctly removed element
Attention!
Before installation of the new bushing, precisely clean the socket and make chamfer to press the new element easier
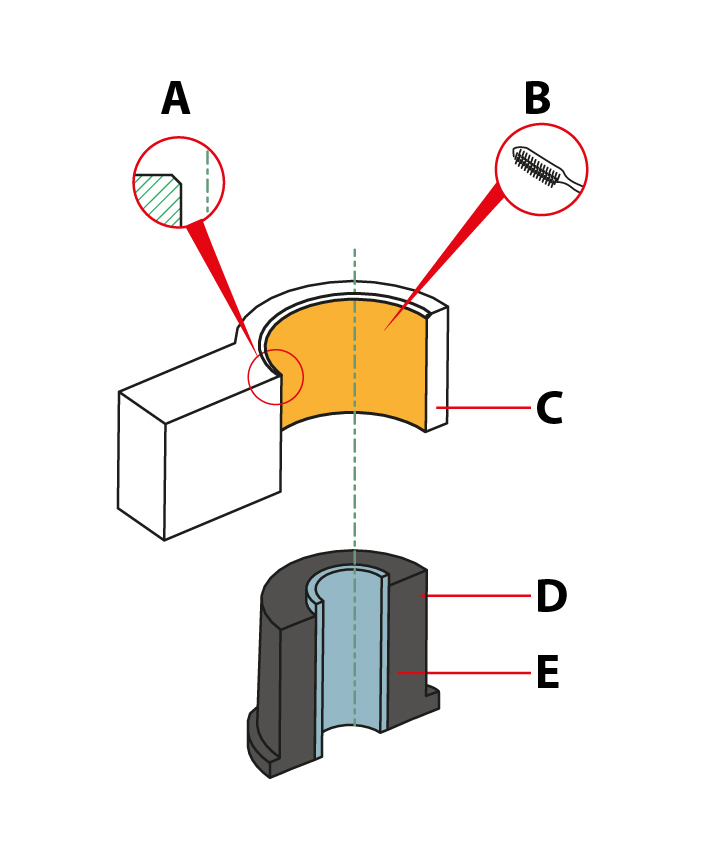
B – Clean the socked thoroughly
C – Control arm
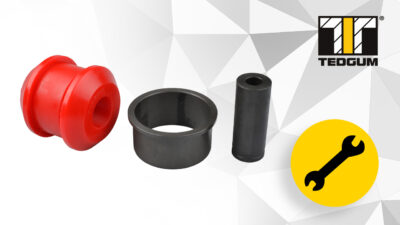
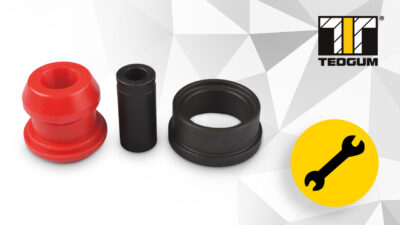
D – Outer rubber bushing
E – Inner bushing
Installation
1
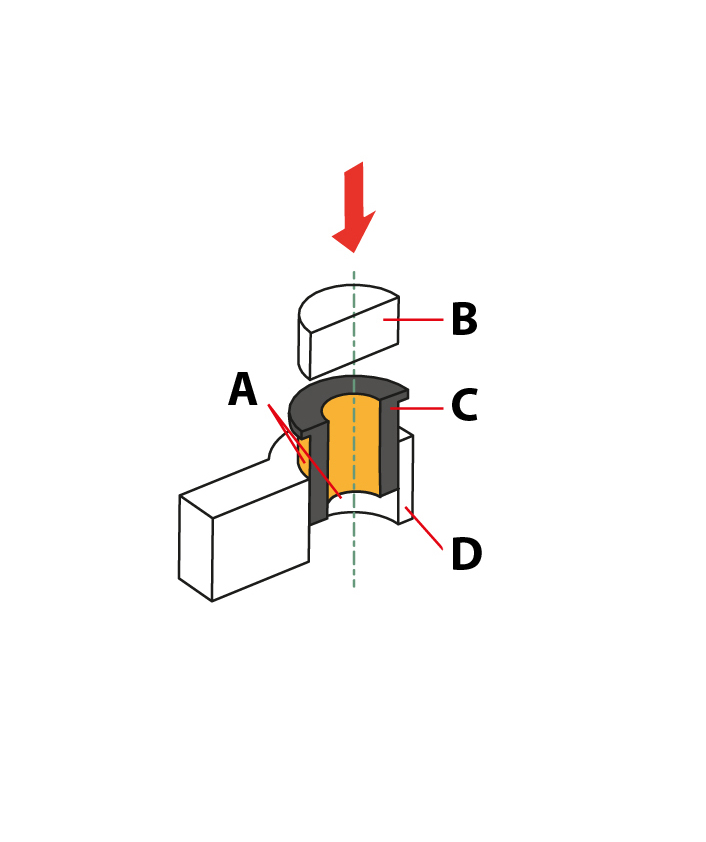
B – Press
C – Polyurethane/rubber insert
D – Control arm
All elements should be properly lubricated with the supplied silicone grease
2
B – Press
C – Inner bushing
D – Polyurethane/rubber insert
While pushing the inner bushing, the Press the new polyurethane / rubber insert to its half of its length, then press it on the metal bushing
3
A – Press to align
Press the new insert until the lower flange comes out of the lower part of the control arm.
4
Correctly pressed in element